Welcome In the last analytical chemistry
video I have shown you the essentials of the volumetric analysis by determining the
acetic acid content in a white vinegar sample That titration belongs to the
acid-base titration methods of analysis In this video another type of method will
be covered: the precipitation titration Let's see some of its basics before
starting with experimental procedure Also I will be using scientific terminology
which I explained in the last video If you are not familiar with the world of phrase
used make sure to watch the video before this one In this video I will determine the concentration
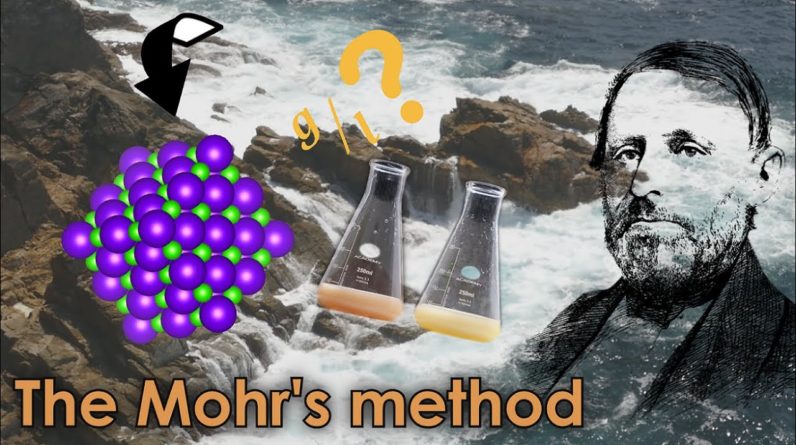
of chloride in a seawater sample making use of the Mohr's method named after Karl Friedrich Mohr,
considered as the father of volumetric analysis The Mohr's method consists of the precipitation
of chloride anion by the addition of silver cation in which the endpoint is observed by the
formation of silver chromate, which is colored Here are the equations Above you see the titration reaction
and below the indicator reaction Below that are their solubility product constants The chloride in the sample, our analyte, is
precipitated by the addition of silver ions forming silver chloride which
appears as a white precipitate As soon as all the chloride is
consumed the silver reacts with the chromate forming a brick red precipitate
indicating the endpoint of the titration It happens in that particular way due
to the solubility of each precipitate Silver chloride is less soluble which means
that chloride reacts with silver first Here are all the material needed for the analysis Llet's prepare all the solutions needed for it First i prepare the indicator solution To prepare 50ml of chromate 0.25 molar solution approximately 1,84g of potassium
dichromate needs to be weighed I don't have a chromate salt but
dichromate can also be used instead with a little modification you will see later Then 50ml of distilled water are
measured in a graduated cylinder It is then swirled for a couple
of minutes until total dissolution after which it is transferred into a glass bottle The water is added in small portions
to try to dissolve all of the solids without using too much more than the measured 50ml I am always amazed by the strong and vivid
coloration hexavalent chromium solutions display The last portion of water
is used to rinse the beaker After all the liquid is poured in a
stopper is added and the bottle is labeled Next up is the standard chloride solution Unfortunately I didn't have a primary
standard grade chloride reagent so I had to use reagent
grade sodium chloride instead I put an arbitrary excess
amount of it in a small beaker and dry it at 115ºC for two
hours to get rid of any moisture A 100ml of 0,025M chloride solution is prepared
by approximately weighing the calculated sodium chloride mass and recording the exact
weight value to recalculate the molarity Trying to weigh the exact calculated mass is not
a good practice as we saw in the previous video Once weighed the salt is dissolved in distilled water and quantitatively
transferred into a volumetric flask To achieve this the beaker is rinsed several times
to ensure all the sodium chloride is transferred This is mandatory when preparing standard solutions as this step is a
source of analytical errors After that, the flask is filled with
distilled water up to the ring marking Then it is inverted several times to
completely homogenize the solution inside Now the last of reagent
solutions, the titrant solution Analytical grade silver nitrate is used In order to prepare 250ml of
silver nitrate 0,025M solution approximately 1,06g of the
nitrate needs to be weighed Since I am going to standardize it afterwards it is not necessary to use a volumetric
flask, nor to wait the exact amount, as before Here I am measuring 250ml of distilled
water with a graduated cylinder to first dissolve the salt and then
transferring it into a larger beaker Silver solutions are not very
stable in bright light conditions so it is stored in an opaque container
which was once again correctly labeled Finally the sample It was gravity filtered prior to storage The sample must be diluted as it
is too concentrated for this method To do this I transfer 10ml of the sample with a
volumetric pipette into a 100ml volumetric flask I consider using the volumetric
pipette an art by itself I like to stand while holding it at eye level With this, the concentration of the seawater
is a tenth of that of the original sample, which needs to be considered in the calculations Once again the flask is stopped
and mixed a couple of times At this point these are all the
solutions that were prepared From top to bottom: indicator, primary
standard, titrant and sample solutions With all of these we can now
start the analysis procedure First up the standardization of the silver
nitrate solution against sodium chloride solution For that a small volume of titrant
solution is used to wash the burette Once done the setup is arranged and the variety
is filled and primed with titrant solution The tip of the burette is rinsed to
ensure no extra volume of titrant is added Next task is to quantitatively transfer 10ml of sodium chloride solution into
each of three Erlenmeyer flasks The pipette is rinsed with water first
and then with primary standard solution For that I am discarding a little
bit of solution into a beaker Now it is ready for transferring the aliquots As said before, this was done in triplicate To each flask 40ml of water is added Then nine drops of indicator and a tip
of a spatula of sodium bicarbonate, which raises the pH to about 8,3 In these conditions all the dichromate
is hydrolyzed into chromate ions which are the desired species
to act as an indicator I rinse the inner walls of the Erlenmeyer to
make sure all of the contents are at the bottom Now it is all ready to start the
standardization look how a red color develops first to then disappear due
to the presence of free chloride ions That tells us that silver
chloride is, as I said earlier, less soluble but kinetics of silver
chromate formation are faster As the procedure progresses the
solution turns opaque due to the formation of colloidal colorless silver chloride But the most important thing is to keep an eye
not on the opacity but on the hue of the color As soon as the slightest red color
remains, the end point has been reached Near the end point additions
are slowed to one drop at a time And here is the end point I added an extra drop by mistake which is still
okay since there are two more aliquots to titrate In total 11,4ml are used The value is recorded on paper and the process
is repeated for the rest of the aliquots Here you can see the formation of silver
chloride after the red color disappears For reference here's how it
looks when excess silver is added in comparison with the previous one This time 11,6ml of titrant solution is used Once we know the total volume needed
approximately 75% of it can be added at once saving time and agitation effort Here I am adding 8,5ml directly After that the titration is performed normally Here you can clearly see the difference
of before and after the endpoint The difference is just one drop of titrant 11,3ml for this final standardization aliquot Aafter the procedure was completed, all
solutions were disposed appropiately Next thing is to calculate the
molarity of the silver nitrate solution We have the molarity of sodium chloride solution, their volume and the volume of
titrant used for each aliquot With that and using the equation shown we can
calculate the molarity of titrant as a mean value, where A is the volume of
titrant used in milliliters In this table you can see the results The titrant solution has a
silver concentration of 0,0251M Now the sea water sample I use a pipette to quantitatively sample 5ml of diluted seawater solution
into the three Erlenmeyer flasks Then, same as before, nine
drops of indicator solution, a pinch of sodium hydrogen
carbonate and 40mlof distilled water A little bit of swirling and we are
ready to finally titrate the sample Even though I estimated I need to
use about 10ml of titrant for the water sample I titrated the first aliquot
carefully to avoid passing the end point Once again a blank is titrated to
counteract the effect of the matrix The blank solution consists of 50ml of water, nine drops of indicator and a spatula of
both sodium bicarbonate and calcium carbonate The latter is used to simulate
the effect of an opaque solution As with every blank solution little to no analyte should be present in it
so additions of titrant were done drop by drop 0,3ml were used which is something to consider Once the experimental part is finished the
concentration of chloride can be calculated Above you see the equation needed to
calculate the molarity of chloride ion Notice that 0,3ml are subtracted from the
variable A to apply the blank correction On the denominator is the sample
volume and its dilution factor By substituting the variable A we get the molarity but other types of concentration
values can also be calculated Here I show you its content in grams per liter
and its percentage, which are more intuitive If we assume all the chloride is in the
form of its sodium salt we can say that one liter of seawater has 34g of sodium chloride This value is known as salinity and in my
case it falls within the mean concentration of sea water around the world, which in
general is accepted to be 35g per liter Salinity is a really important
factor that affects ocean dynamics It can be tracked to predict climate conditions,
melting and freezing of polar ice and even evaporation of water and its consequent
precipitation, among many other variables Here I show you a video with data recorded
by the NASA's "Aquarius" instrument mounted in the argentinian "Satelite
de Aplicaciones Científicas D (SAC-D)" The video shows the changes in
salinity in the hydrosphere over time In this video I have shown you a
precipitation titration method for determining the chloride content in a
water sample but here you can see that, with data obtained by chemists or a satellite
in the case of the Aquarius instrument, people can study many other
things in a plethora of fields So one simple chemistry experiment
can give lots of knowledge I hope you enjoyed this video I'll see you in the next one and, as
always, don't forget to enjoy our hobbies 😀
